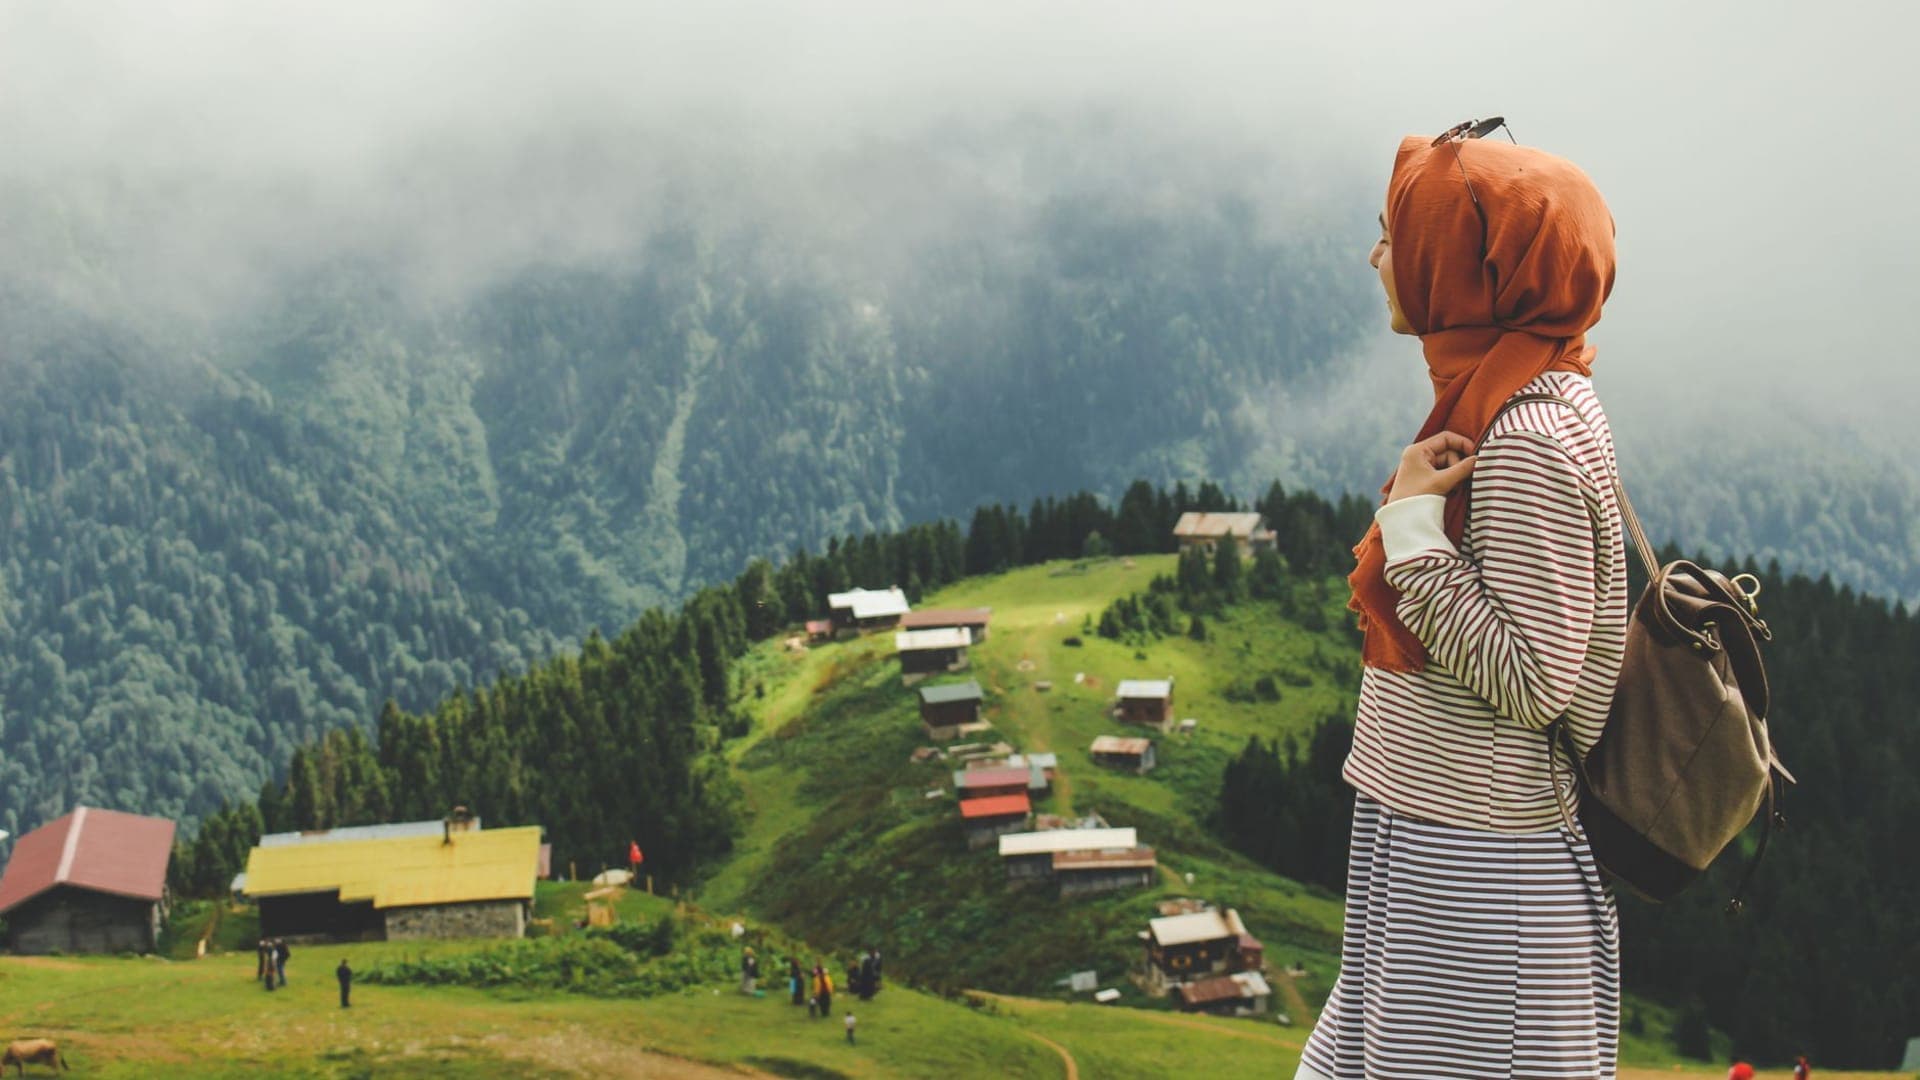
Summary: Successful outdoor photography requires proper light management, weather-appropriate equipment protection, and environmental awareness. Shooting during golden hours, optimizing manual settings according to nature's dynamics, and using polarizing/ND filters will elevate your camping photos from ordinary to extraordinary. This guide offers practical composition strategies, battery management, and night exposure techniques for intermediate campers.
Introduction: Why Should You Shoot Better?
Capturing the landscapes you encounter while camping through your viewfinder is about more than just pressing the shutter. For intermediate campers who have mastered basic skills like pitching a tent, building a fire, and choosing a campsite, nature is a massive open-air studio. Our goal is to step away from the automatic modes of smartphones and take full control of the camera. This outdoor photography tips guide we've prepared for you will provide a technical foundation on reading the light, protecting your gear from the elements, and finding the right angle.
What You Will Learn From This Article
- Optimizing manual camera settings (ISO, Aperture, Shutter Speed) based on weather conditions.
- Using dynamic range (HDR) and RAW format during the golden and blue hours.
- The technical impact of using a tripod, polarizing, and ND filters on landscape photography.
- Gear safety in nature, moisture protection, and battery management strategies.
- Proper exposure techniques for night campfire and tent illumination shots.
Essential Outdoor Photography Tips: Light and Environment Control
The most critical element in nature photography is light. In mountainous terrains, such as the Kaçkar or Kaz Mountains, the angle of the sun and the movement of clouds can change in seconds. The harsh midday light creates blown-out highlights and pitch-black shadows in your photos. Compared to the algorithmic HDR software of smartphones, the manual RAW processing capacity of mirrorless or DSLR cameras is far more effective because you can process the raw data captured by the sensor losslessly during post-production.
According to research and professional surveys, 70% of nature photographers capture the most successful shots in their portfolios within the first 45 minutes after sunrise or sunset (Golden and Blue Hours). During these time frames, sun rays enter the atmosphere horizontally, the light softens, shadows lengthen, and depth is added to the landscape.
Detailed Analysis: The Right Gear and Carrying Strategy
As an intermediate camper, you know how vital the weight balance in your backpack is. When choosing your photography gear, minimalism and functionality should be at the forefront.
- Lens Selection: Instead of carrying every focal length, one 16-35mm wide-angle (for landscapes and the night sky) and one 70-200mm telephoto lens (for wildlife, mountain peaks, and details) are sufficient.
- Filter Usage: A polarizing filter cuts through the glare on water surfaces and leaves, deepening the blue of the sky. An ND (Neutral Density) filter allows you to slow down your shutter speed to transform the flow of water into a silky texture during waterfall or riverside camps.
- Carrying System: A camera should never be placed unprotected at the very bottom or top of your backpack. Use a waterproof camera insert to place your gear at the center of gravity of your bag (mid-back area). This protects your lower back health and provides cushioning against impacts.
Practical Outdoor Photography Tips
When you step into the field, putting theoretical knowledge into practice requires speed. Here are 5 technical strategies that will instantly improve your shooting quality:
- Use Focus Stacking: In wide-angle landscape shots, you want everything from a flower in the foreground to a mountain peak in the background to be sharp. Stopping the aperture down to f/22 causes lens diffraction and reduces sharpness. Instead, mount your camera on a tripod and take 3-4 shots at f/8 or f/11, focusing separately on the foreground, midground, and background. Merge these frames on your computer.
- Place an Interesting Element in the Foreground: Shooting just an empty valley destroys the sense of depth. Create an entry point that draws the viewer's eye into the photo by placing your campfire, tent, a textured rock, or a mossy log in the lower third of the frame.
- Use the Tent as a Light Source: In night shots, making your tent look like a glowing lantern is highly aesthetic. However, high-lumen lamps will blow out the tent. Place a low-power headlamp between 50-100 lumens inside the tent, wrap it with a thin cloth to soften the light, and do a 10-15 second exposure on your camera.
- Expose for the Sky for Silhouette Shots: To capture your camping buddy's silhouette at sunset, half-press the shutter to meter the light from the bright sky (right next to the sun). Once you lock the exposure, adjust your framing and shoot. Your subject will be completely dark, while the sky will be properly exposed.
- Turn the Weather to Your Advantage: Don't let the expectation of rain or fog in the 2025 season trap you in your tent. In regions like the Yenice Forests, morning fog creates layers between the trees, adding mystery and depth to the photo. Bad weather is the key to dramatic photos.
3 Common Critical Mistakes and Their Solutions
During the learning process, certain habits can make your photos look amateurish. Recognizing these mistakes is the first step to fixing them.
- Centering the Horizon Line: Placing the horizon right in the middle of the frame makes the composition static. Actively use the rule of thirds. If the clouds in the sky are dramatic, place the horizon on the lower third; if the lake or forest texture on the ground is interesting, place it on the upper third.
- Relying Too Much on High ISO: Cranking the ISO up to 3200 or 6400 just to shoot handheld at night or in a dimly lit forest destroys details. Keeping the ISO below 800 by using a tripod prevents sensor heating and reduces the noise ratio of the photo by up to 60%, preserving print quality.
- Shooting Only from Eye Level: Bringing the camera to your eye and shooting from where you stand is the most boring perspective. Crouch down, lower the camera into the grass, or climb on a high rock to look for a bird's-eye angle. Changing the perspective changes the story.
Gear and Shooting Safety
In nature, your gear is exposed to conditions just as harsh as you are. Camera safety is a priority, especially in high-humidity campsites along the Aegean coast or on cold, high-altitude routes. Never change lenses facing the wind; tilt the camera body downward and keep the wind at your back to protect the sensor from dust. Use special camera rain covers in rainy weather, or make your own protection with a clean trash bag and a rubber band. When you enter your tent at night, suddenly bringing a cold camera into a warm tent causes condensation (moisture) inside the lens. Before bringing the camera into the tent, place it in an airtight ziplock bag and wait for its temperature to balance slowly.
3 Critical Rules You Need to Know in Outdoor Photography
- Shoot in RAW Format: When compressing the photo, JPEG format irreversibly deletes vital data in the shadows and highlights. RAW format, on the other hand, saves all the data captured by the sensor. You can easily recover a dark forest floor or an overly bright sky in RAW processing programs (like Lightroom).
- Learn to Read the Histogram: Evaluating the exposure of a photo by looking at the camera's LCD screen under the daytime sun will mislead you. Because of screen brightness, you might think dark photos are bright. The real exposure data is in the histogram graph. Make sure the graph isn't leaning against the right (bright) or left (dark) walls and clipping.
- Tell a Story: Camping isn't just about the scenery. Add micro details of the camp among your wide-angle mountain photos. The steam rising from the morning coffee pot, your muddy hiking boots, the texture of wood burning in the fire... These details add a human touch to your photo series.
Frequently Asked Questions
How can I extend battery life in nature?
Cold weather slows down the chemical reaction of lithium-ion batteries, causing them to drain quickly. You can keep your spare batteries warm with your body heat by carrying them in inner pockets close to your body or taking them inside your sleeping bag at night.
Which lens is more suitable for camp night photography?
For the Milky Way, star exposures, and wide night landscapes, wide-angle lenses between 14mm and 24mm should be preferred. To gather maximum light, having a lens aperture of f/2.8 or lower (a fast lens) provides a critical advantage.
How do you prevent light blowouts in tent illumination photos?
Pointing the light source inside the tent directly at the lens creates flares and localized blowouts on the sensor. Use a low-power light reflected off the tent ceiling and keep your camera's exposure time in the 10-15 second range to ensure the light distributes evenly across the fabric.
What causes focusing issues in forest shots?
Low contrast, shadow play, and complex intertwined branches in forested areas confuse the camera's autofocus (AF) system. In such situations, switching your lens to manual focus (MF) mode and adjusting the sharpness yourself is the most definitive solution.
What does a polarizing filter do in outdoor photography?
A polarizing filter blocks unwanted sun reflections on water surfaces like lakes or rivers and on tree leaves. It also deepens the blue in the sky and makes clouds more prominent, increasing the overall contrast and color saturation in the photo.
Conclusion: Document Nature Through Your Own Eyes
Remember that the best camera is the one you have with you at that moment and whose limits you know best. Outdoor photography is an art of patience, observation, and reading the light correctly, rather than about expensive gear. Instead of pressing the shutter immediately after pitching your tent, take a walk around your campsite, explore angles, and watch the movement of the sun. Don't forget to share those impressive shots you capture by applying the techniques in this guide on your next nature adventure with our community on the Kampçı platform. May your light be abundant and your shutter always ready!