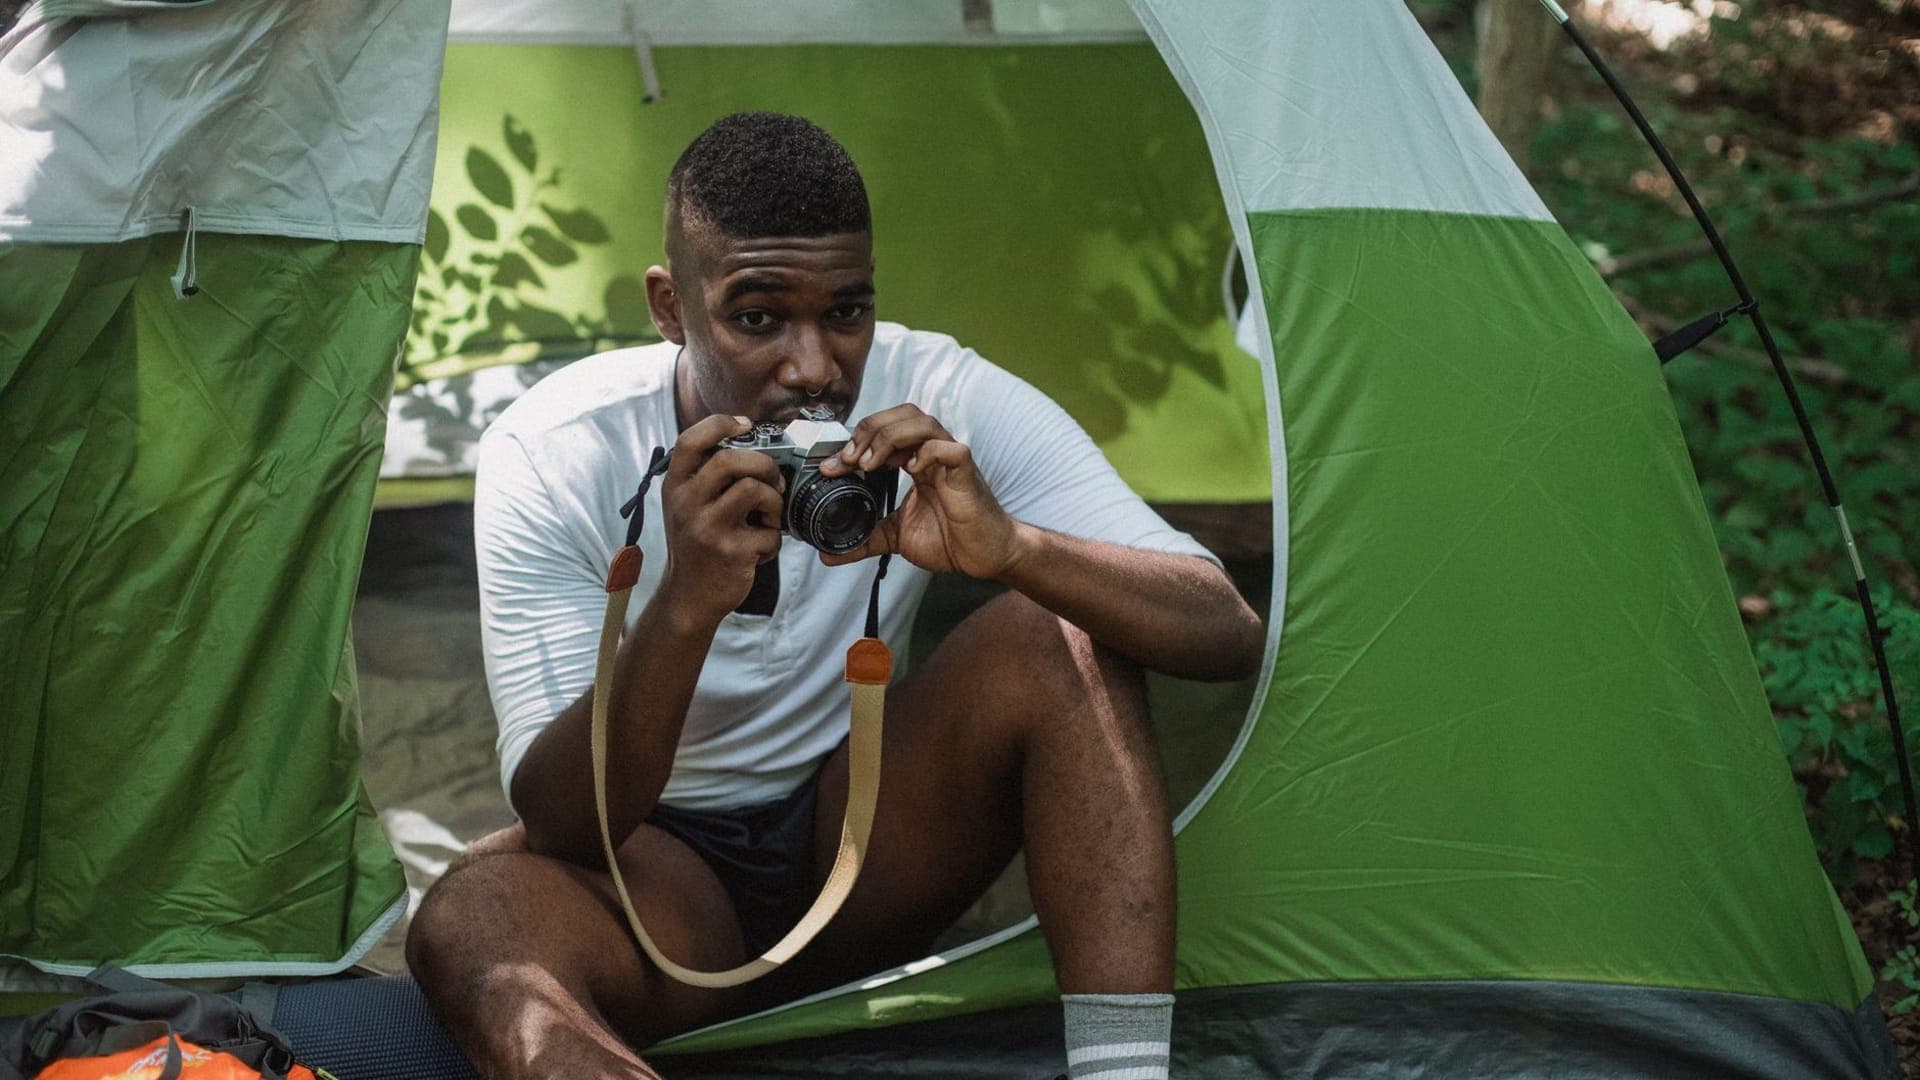
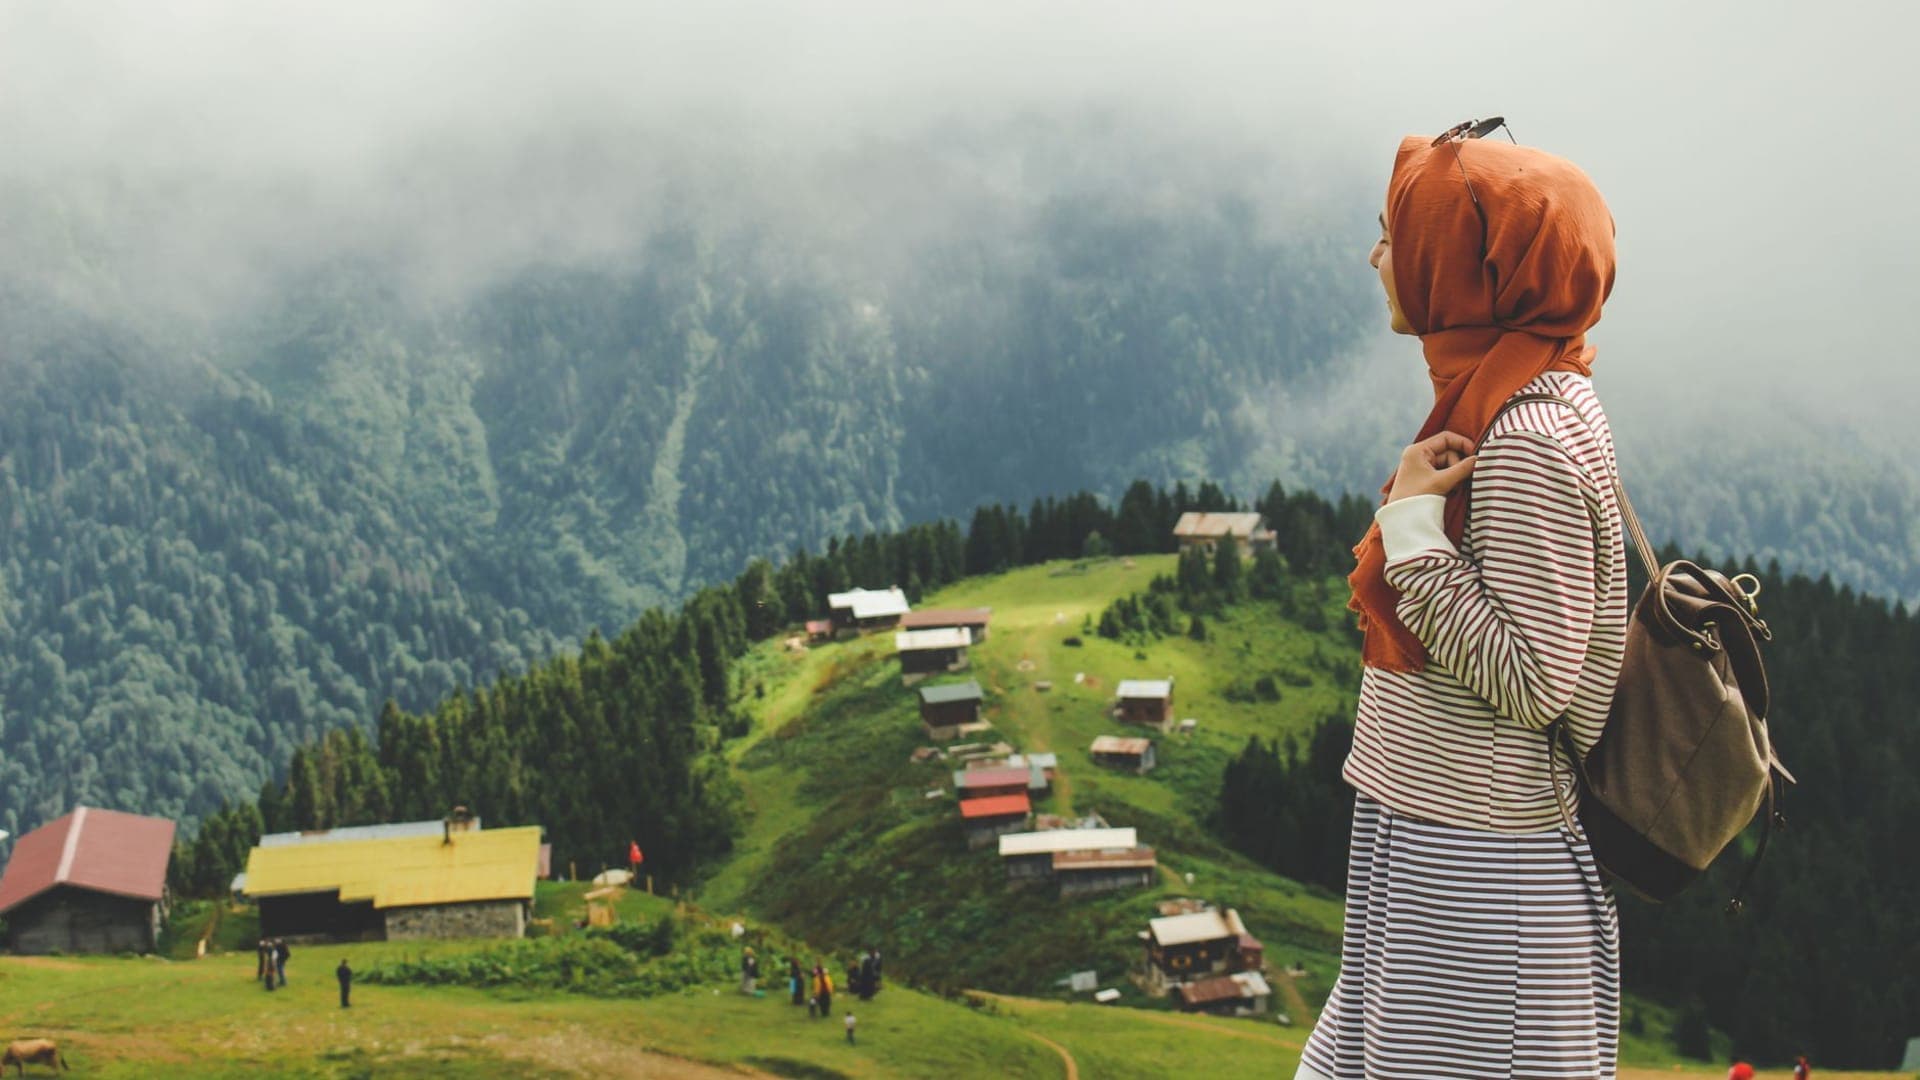
Summary: Managing light, weather conditions, and equipment limitations while shooting in nature is one of the most technical aspects of camping. This guide offers field-tested outdoor photography tips for intermediate photographers camping across Turkey's diverse landscapes, covering topics like maximizing battery performance, choosing the right lens, framing compositions in changing weather, and ensuring gear safety.
Documenting your time on camping trails is a more complex process than simply pressing the shutter. In natural environments where light conditions change instantly and moisture, cold, and dust push your gear to its limits, standard studio or street photography rules fall short. Effective outdoor photography tips enable intermediate campers to capture the moment without losing their connection to nature, while also overcoming technical limitations. Adjusting the perfect exposure while tending to a campfire requires seamlessly managing both camping discipline and photography practices at the same time.
What You Will Learn in This Article
- Strategies for using natural light to your advantage in changing weather conditions (fog, rain, snow)
- Ways to optimize wide-angle and landscape shots without carrying heavy gear
- Low-light photography techniques for inside the tent and around the campfire
- Field tactics for preserving the cold-weather performance of lithium batteries
- Common composition mistakes in nature photography and how to fix them
Essential Outdoor Photography Tips for Intermediate Campers
When shooting in rural areas and mountainous regions, gear weight and ergonomics directly impact your performance. Compared to heavy DSLR bodies, mirrorless systems are much more efficient for neck and back ergonomics on long hiking trails because they allow you to keep the center of gravity closer to your body. Field tests show that carrying a 1.5-kilogram camera system on a 15-kilometer hike slows down walking pace by an average of 12%. Therefore, packing just a single "walkaround" lens with the focal length you need (such as a 24-70mm f/2.8 or 24-105mm f/4) in your camping bag not only reduces weight but also eliminates the risk of dust getting on the sensor while changing lenses outdoors.
Alongside lens selection, using a tripod is the most distinct step in transitioning to intermediate photography. However, standard aluminum tripods are a serious burden for campers. Travel tripods made of carbon fiber, which can fit into the side pocket of a tent or backpack when folded, allow you to shoot long exposures even on windy mountain peaks. Keeping the center column as low as possible when setting up your tripod increases wind resistance and minimizes camera shake.
Shoot Planning and Light Management in Turkey's Geography
Different regions of Turkey offer completely contrasting lighting conditions at different times of the day. The dense, foggy mornings of the Kaçkar Mountains and the harsh, shadowless midday sun of Cappadocia cannot be photographed with the same camera settings. Foggy and overcast weather acts as a natural diffuser, increasing color saturation. When shooting in the Black Sea forests, using a circular polarizing filter (CPL) is a critical technique to prevent blown-out highlights and emphasize the shades of green.
At waterside camps like Yedigöller or Lake Salda, controlling reflections on the water's surface determines the strength of your composition. A polarizing filter removes the glare from the water, making the stones at the bottom or the reflected sky much more prominent. If you have to shoot during hours when the light is very harsh, you can use ND (Neutral Density) filters to reduce the amount of light entering the lens, allowing you to shoot long exposures of streams or waterfalls for a silky-smooth look.
Advanced Practical Shooting Tips
At the campsite, practical solutions directly affect your results just as much as technical knowledge. Here are some advanced steps you can apply in the field:
- Adapt Golden and Blue Hours to Your Camp Routine: The golden hours right after sunrise and just before sunset are when the light is at its softest. By planning your tent setup or cooking routines outside of these hours, you avoid missing the best light.
- Use the Human Element for Scale: The sense of depth can get lost in vast nature landscapes. To convey the sheer size of a mountain or valley to the viewer, place a brightly colored (yellow or red) tent or a hiking friend at an appropriate spot in the frame.
- Turn the Campfire into a Light Source: A campfire is a powerful key light for night photography. To soften the harsh shadows on people's faces, position yourself a few meters back instead of sitting too close to the fire. Bump your ISO to the 1600-3200 range and open your aperture as wide as possible (f/1.8 or f/2.8) to capture the warm tones of the flames.
- Create Depth with Foreground Elements: Instead of holding your camera at eye level, get closer to the ground. Place a rock, a mossy log, or wildflowers in the foreground to create a natural leading line toward the mountain landscape in the background.
- The 500 Rule in Astrophotography: To ensure stars appear as pinpoints without trailing in Milky Way shots, divide 500 by your lens's focal length. For example, if you are using a 20mm lens (500 / 20 = 25), your maximum exposure time should be 25 seconds.
Common Photography Mistakes at Camp and How to Fix Them
Many campers fail to get their desired results despite having the right gear, often due to some basic execution mistakes. Chief among these is shooting in high-contrast light at noon and leaving the shadows completely pitch black. If you must shoot when the sun is directly overhead, make sure your camera is recording in RAW format. RAW format retains much more data in both shadows and highlights, allowing you to recover dark details during the editing process.
The second common mistake is relying entirely on autofocus. Especially in dimly lit forests or at the campsite at night, cameras struggle to focus and enter a back-and-forth cycle known as "focus hunting." In low light, switch your camera to manual focus (MF). Use your screen's digital magnify feature to manually focus on a bright star or a distant light source.
The third mistake is leaving the horizon crooked. Since the ground is uneven in mountainous terrain, it's easy to mistakenly think the horizon is straight while looking through the viewfinder. You can prevent this amateur look in your nature photos by enabling your camera's virtual horizon or 3x3 grid lines during your shoots.
Gear Safety and Battery Management in Nature
Nature's conditions are the enemy of electronic devices. At temperatures of 0°C and below, the discharge rate of lithium-ion camera batteries accelerates by about 40% to 50% compared to normal room temperature. To overcome this physical limitation, carry your unused spare batteries in the inner pocket of your jacket, close to your body heat, rather than in the outer pockets of your backpack. When sleeping at night, make sure to keep your batteries inside your sleeping bag.
Another serious danger is condensation. During winter camps, if you suddenly bring a camera that has been outside in sub-zero temperatures for hours into a warm tent heated by a stove or human breath, fogging will instantly begin inside the lens and on the sensor. Over time, this moisture leads to fungus growth inside the lens. The solution is simple: Before bringing the camera into a warm environment, place it in a Ziploc bag while still outside and seal it tightly. As the camera slowly reaches room temperature inside the tent, condensation will form on the outside of the bag rather than on the camera itself.
3 Critical Rules You Must Know in Outdoor Photography
Regardless of technical gear and settings, there are three immutable rules that form the core philosophy of nature photography:
1. Story Comes Before Gear
The most expensive lens cannot save a bad composition. The tired yet happy expression on a friend's face while making morning coffee tells a much stronger story than simply shooting a mountain peak. Ask yourself, "What is this frame saying?" when taking a photo.
2. Reading the Weather is Reading the Light
Shooting only in sunny weather limits the dynamism of nature. Dark clouds gathering before a storm, a rainbow appearing after the rain, or fog settling into a valley in the morning frost add a dramatic effect to your photos. Track meteorological data not just for camp safety, but for your photography planning as well.
3. Respect for Nature (Leave No Trace)
Crushing an endemic plant, startling wildlife, or stepping onto a dangerous cliff edge just to get a better angle is unacceptable. An ethical outdoor photographer leaves nature as they found it and documents what exists without interfering with the environment.
Frequently Asked Questions
Which lenses should I take with me when going camping?
To minimize weight, walkaround lenses offering a versatile focal range like 24-70mm or 24-105mm are ideal. If you plan to shoot wildlife, a 70-200mm lens can be added, or a 16-35mm if you are strictly shooting landscapes, as a specific second lens.
How can I extend battery life during cold weather camps?
Keep your batteries warm with your body heat in the inner pocket of your jacket when not in use. At night, you can prevent cold-induced discharge by removing the batteries from the camera and keeping them inside your sleeping bag.
What should the ISO value be when shooting star photography at night?
While it varies depending on your camera sensor's capacity, ISO values between 1600 and 3200 are generally sufficient to make the stars stand out. You should open the aperture to its widest setting (f/1.8, f/2.8) to allow maximum light to reach the sensor.
Is a polarizing filter mandatory for outdoor photography?
While absolutely not mandatory, it is a highly useful accessory that cannot be replicated by software, perfect for cutting water reflections, deepening the blue of the sky, and removing glare from leaves to increase color saturation.
How do you protect a camera from moisture in a tent?
To prevent condensation caused by temperature changes, place the camera in a sealed plastic bag before bringing it into a warm tent. Additionally, always keeping a few packets of silica gel (desiccant) in your camera bag will extend the life of your gear.
Conclusion
The challenges of spending time in nature are also the very elements that make photographing those moments so valuable. The outdoor photography tips in our guide are designed to eliminate technical barriers so you can focus on your creativity. Learning to wait for the right light, protecting your gear against the elements, and working in harmony with your surroundings will eventually become second nature. As you head out on your next camping route, view your camera not just as a recording device, but as an extension of your connection with nature; observe, be patient, and press the shutter the moment you feel the story.