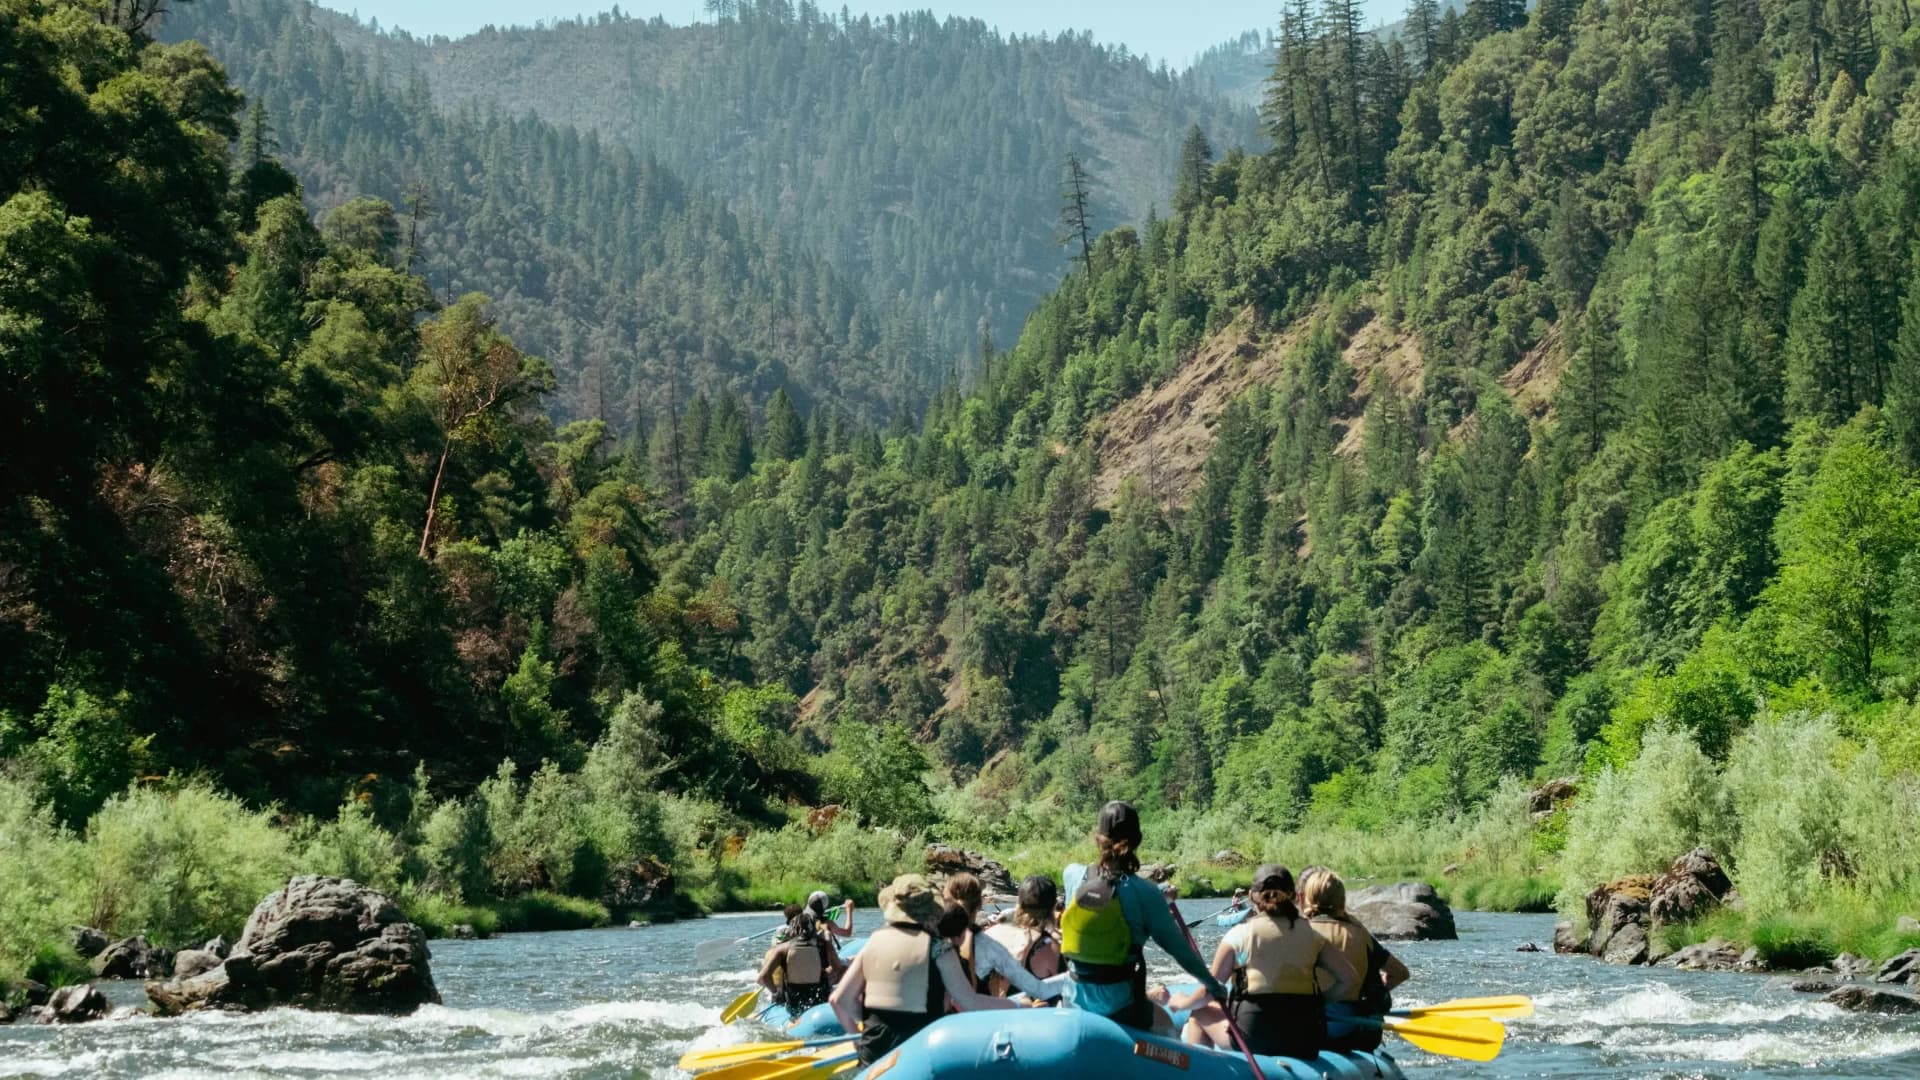
Imagine pitching your tent in the lush forests of Turkey, on the cool foothills of the Kaz Mountains, or in the misty highlands of the Black Sea. As the sun slowly disappears over the horizon, a slight, shivering chill begins to settle on your shoulders. The scent of earth mingling with the surrounding pine trees signals that nature is preparing for the night. Right at that moment, you crave a campfire—that sweet warmth hitting your face, the smell of soot mixing with the air, and the sound of crackling wood soothing your soul. If you are a beginner at camping, knowing about campfire building techniques doesn't just keep you warm; it also allows you to experience one of the most primal, powerful, and beautiful reflections of your connection with nature.
Why Are Campfire Building Techniques So Important?
For many of us, camping means stepping away from technology and returning to our roots. However, building a fire in the wild is not just an aesthetic or romantic detail; it is a vital survival skill. The flames you create using the right campfire building techniques will keep wild animals away from your campsite throughout the night, allow you to cook your meals, and eliminate the risk of hypothermia by drying your wet clothes. More importantly, gathering around the fire is the most effective way to bond with your campmates, share stories, and shake off the exhaustion of the day. But making this experience safe and enduring requires much more than just piling random wood on top of each other and striking a match.
Before Lighting the Fire: The Basic Preparation Phase
The secret to a successful campfire actually begins in the preparation phase, long before you strike that first spark. A fire attempted without proper preparation can turn into a frustrating disappointment that constantly goes out, produces excessive smoke, and ruins your camping experience.
Safe and Proper Site Selection
When choosing the area to build your fire, your priority should always be safety. If there is an existing fire ring in your camping area, definitely use it. This is the fundamental rule of minimizing our impact on nature (Leave No Trace). If you need to create a new spot, choose an open area at least three to four meters away from your tent, overhanging branches, and dry bushes. Clear away dry leaves, pine needles, and flammable organic matter on the ground until you reach bare dirt. Surround your fire pit with medium-sized rocks to prevent the wind from scattering the ashes. But beware: Never use wet rocks gathered from a riverbank! River rocks with trapped moisture inside can expand with the heat and explode dangerously.
The Three Musketeers of Fire: Tinder, Kindling, and Fuelwood
Understanding the language of fire in the wild comes down to properly categorizing the materials you will use. To start and maintain a fire, you need three different sizes of fuel:
- Tinder: This is the material that will catch that first, most fragile spark of the fire. Dry grass, pine needles, birch bark, cotton, or small pieces of cardboard you brought from home can be used as tinder. When gathered together, your tinder material should be enough to fill your palm.
- Kindling: These are the thin branches that will catch the short-lived flame created by the tinder and help it grow. Easily combustible, completely dry branches ranging from the thickness of a pencil to a thumb fall into this category. To make sure your kindling is dry, try bending it; if it snaps with a crisp sound, it's perfect. If it just bends, it's still wet inside.
- Fuelwood: These are the thick logs that keep the fire burning throughout the night, provide heat, and create a bed of coals. Ranging from wrist-thick to leg-thick, these logs should be introduced only after the fire is going strong.
Most Common Campfire Building Techniques
Once your materials are ready, how you arrange them will determine the purpose of your fire. Do you want to boil water quickly, or are you aiming for a bed of coals that will burn for hours? Here are the most basic techniques every camping beginner should know:
1. Teepee Technique
This is perhaps the most well-known and easiest technique to apply. As the name suggests, it is built by arranging the materials in the shape of a teepee. A handful of tinder is placed in the center. Thin kindling is then arranged around it in a cone shape, leaning against each other. The biggest advantage of this structure is that the heat rises rapidly, and the oxygen flow inside is excellent. The flames grow very quickly, making it ideal when you need immediate heat or want to boil water efficiently. However, this type of fire consumes wood very fast, so you will need to feed it constantly.
2. Log Cabin Technique
If your goal is to create a fantastic bed of coals that burns for a long time, requires little maintenance, and is perfect for cooking, the Log Cabin technique is exactly what you need. Start by building a small teepee in the center. Then, stack thicker logs around this center in a square formation, just like building a wooden cabin. With each layer, shift the logs slightly inward to create a structure that narrows toward the top. This technique allows the wood to burn slowly from the outside in and is quite resilient in windy weather.
3. Star Fire Technique
When you need to conserve wood or want a lazy fire that will burn slowly all night, you can use the Star technique. After starting a small fire in the center, place 4 or 5 long, thick logs in a star (or wheel spoke) formation so their ends meet in the middle. Only the tips of the logs will burn. As they burn, simply push the logs slowly toward the center. This is one of the most elegant ways to keep a fire under control.
4. Lean-to Technique
If you are camping on the Aegean coast or a windy, high-altitude hill, you need to protect your fire from the wind. Place a thick, green log (or a large rock) on the ground. This log will act as your windbreak wall. Place your tinder on the leeward (wind-sheltered) side of this log. Arrange your thin kindling like a roof, with one end on the ground and the other leaning against the main log. As the wind hits the main log and passes over it, your fire underneath will grow safely.
How to Build a Campfire Step by Step?
Now that we have the theoretical knowledge in our pockets, it's time to put it into practice. Don't be afraid to get your hands dirty and follow these steps:
- Create the Center: Place a handful of your tinder right in the middle of your prepared fire ring, fluffing it up slightly. Don't pack it too tightly; the fire needs to breathe, which means it needs oxygen.
- Build the Skeleton: Depending on your chosen technique (like the Teepee technique), arrange your thinnest kindling around the tinder. Don't forget to leave a small 'door' where oxygen can enter and where you can reach in with your lighter or match.
- Start the Fire: Keep the wind at your back. Ignite your fire starter (match, lighter, or ferro rod) at the lowest point of the tinder, facing the direction the wind is blowing. Since heat rises, you should always light the fire from the bottom, never from the top.
- Feeding and Oxygen: Once the tinder catches fire, watch the kindling ignite. If the flame weakens, provide extra oxygen by blowing on the fire very gently with long, steady breaths. As the kindling starts to burn, gradually add slightly thicker branches.
- Add the Fuelwood: When your fire is strong enough to stand on its own—meaning the kindling has started to turn into embers—carefully place your thick fuelwood onto the fire. Add the logs by placing them gently so as not to smother the fire, rather than tossing them in.
Vital Safety Rules for Building a Fire in the Wild
This source of warmth and light that nature offers us can turn into a destructive force if left unchecked. As a beginner camper, you should never forget the following golden rules:
- Always have a bucket of water or a container filled with plenty of sand/dirt ready near the fire before you light it.
- Never leave your fire unattended. Make sure the fire is completely extinguished even when you go to your tent to sleep or leave the campsite for a short while.
- Never throw chemical waste like nylon, plastic, aluminum foil, or batteries into the fire. When burned, these materials release toxic gases and leave lasting damage to nature.
- In excessively windy weather, avoid building a fire as flying sparks can cause forest fires, or simply use your portable camping stoves instead.
The Art of Extinguishing a Fire Without a Trace
You've had a wonderful night, watched the stars, and it's time for bed. Extinguishing a campfire properly is just as important as building it. To put out the fire, pour some water over it. You will hear hissing sounds as you pour the water. Then, thoroughly stir the ashes and unburned pieces of wood with a long stick. After that, pour water again and continue stirring. Make sure all the embers have completely darkened. Hover the back of your hand (not your palm, because if you get burned, you'll still need to use your palm) close to the ashes. If you still feel heat, the fire is not fully out; repeat the process. Leaving nature as you found it, or even cleaner than you found it, is your greatest responsibility when leaving the campsite.
Camping is the art of escaping the chaos of modern life and harmonizing with the rhythm of nature. With the right campfire building techniques, you gain not just a heat source, but also a reassuring friend in the dark of the night. Be patient as you apply these techniques you've learned, observe the dynamics of nature, and feel how your experience grows with every attempt. On your next camping trip, as you strike that first spark, listen to the whispers of nature and enjoy the memories gathered around the fire; now pack your bag, hit the road, and set your inner camper free!